*This great review is from Wendy Crockett, winner of the 2019 Iron Butt Rally.
https://www.youtube.com/watch?v=beOTedirSMA&list=PLyC9jxBcvx4mU87TMNUVf2JxpsDNyMpsn&index=83
Hi, my name is Wendy Crockett. I am a competitive endurance rider, winner of the 2019 iron butt rally on this bike here, this is a 2005 Yamaha FJR, 300,000 miles on it, and I’m going to be installing the INNOVV K5 camera system. My bike is very much non-stock.
The way we set up the system I think is a little bit different from the way most people are going to be installing it, but we had some unique problems that we were looking to address and I think the K5 has done an amazing job. So, I’d like to share that with you.
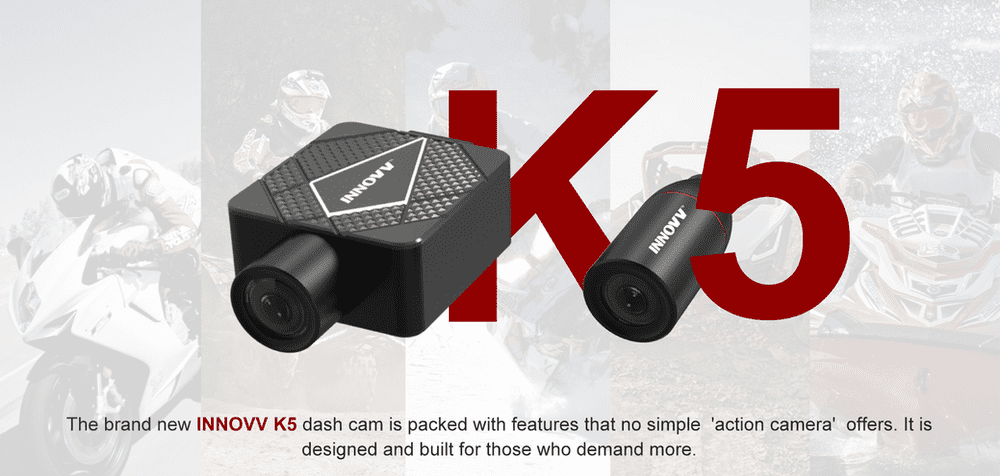
INNOVV K5 Dashcam System Is Really Well Suited to Endurance Rides and Long Rides.
So the k5 is designed as a dash cam but it really is an incredible action cam. You’ve got the 4k upfront, the 1080 in the rear. It’s just a really good camera system.
And some of the big selling points that made this system really well suited to endurance rides and long rides, in general, is that there are no battery packs, that was a huge selling point for me, that there is nothing that I need to charge, and replace. It is wired hot into my bike. I turn on the bike camera system comes on, that’s all.
Accepts Up to 512GB MicroSD Card and Has the Outstanding Audio Quality Mic
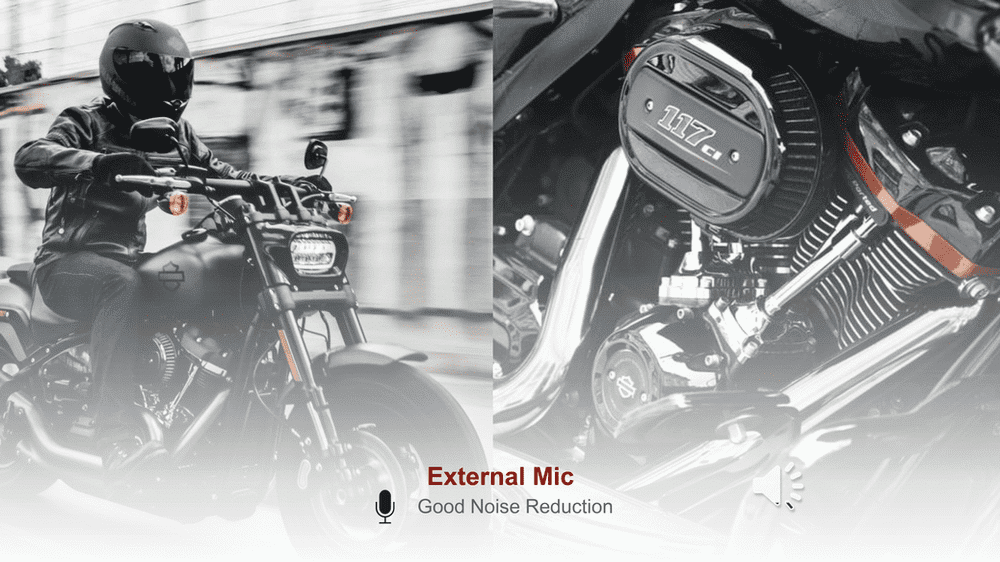
Another really big benefit is the big memory card. It will take up to a 512, not a lot of camera systems can compete with that, that’s really impressive. And the wired microphone as well know a lot of people on shorter rides the Bluetooth will work just fine. But, for really outstanding audio quality. There’s nothing like the wired Mic. So, those were the big selling points really making this good for the type of riding that I do.
Where I Mount the Front and Rear Camera
So, let’s take a look at the camera placement on my bike, as I said it’s pretty far from stock. I do have a dash at the front of my bike, and I took advantage of that because I didn’t necessarily just want as I said to use this system as a dash cam. I decided to use the rear-facing camera as a cockpit cam.
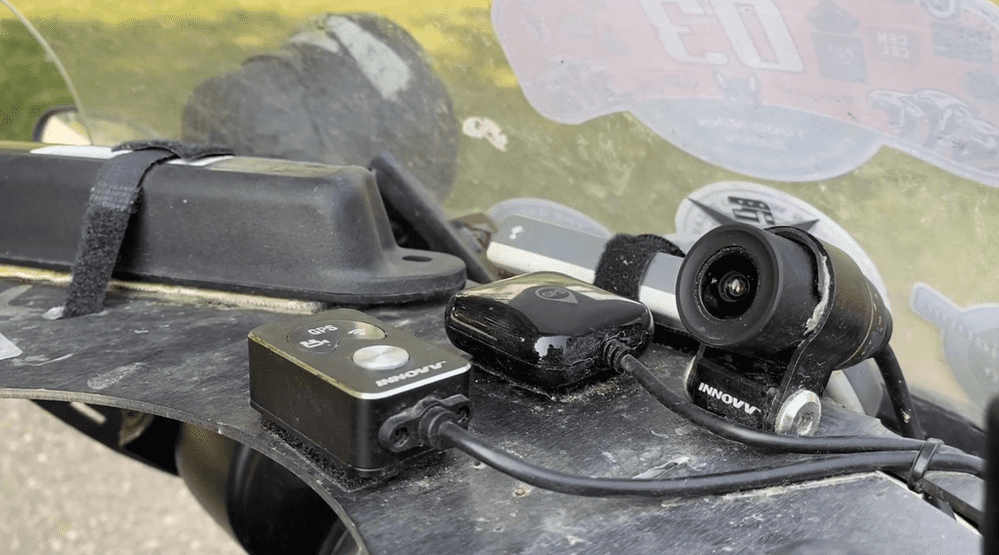
I had the space on my dash to have more than one component here. So, you can see where I’ve installed the rear-facing camera, just slightly at an angle so I get some of what’s going on the road around me as well as myself. I also put the GPS on top of the dash there. So that it would have a good clear view of the sky, and I’ve put the control button as well. Now, I was wondering if the lights on the control button would bother me being relatively directly in my line of sight, there they don’t at all, even when they’re flashing when they’re telling me my memory card is full. It’s nice just light enough led on there to let you know at a glance but it is not obnoxious or distracting.
The one thing that I would point out on the remote control button is that beveled edge depending on the position of the button, and how you align it to where you sit. I can catch a lot of light so I did end up just coloring around the edge of that bevel. And if I had it to install again I probably would take that into consideration when I was placing it, looks super sharp and it’s just probably a half an hour a day that it happens to catch the light just right, so one thing to maybe take into consideration when you’re thinking about where to put that button.
I tried several different mounting positions for the front camera. We have a lot of wire on the system which is great because it gives you a lot of different potential mounting locations. it also with that the super wide-angle on the front camera. I really wanted to take advantage of that.
So, really what I was waffling about is do I put it behind my windscreen or do I have it out to the side, and what I ultimately decided was to have it not behind my windscreen I had it out in the wind. And the reason for that is when it’s behind the windscreen, every bug and bit of road grime and everything else you are shooting through that all the time and I don’t make a habit of cleaning my windscreen when I’m doing a competition. So, when the camera is installed out to the side it makes a much tinier target and I was really satisfied with that decision.
Because what I found was, you know the odd bug here and there that would actually hit the lens would just kind of make a very tiny blurry spot, as the camera is focusing beyond that as opposed to the camera focusing on the bugs or having just a ton of grime right in front of that lens.
because I happen to have a set of brackets on my bike for my auxiliary lights, and I fab the brackets up to accommodate two sets of lights and I happen to only be running one gigantic light right now, so I took advantage of that tab to mount the camera. I am really pleased with that mounting location.
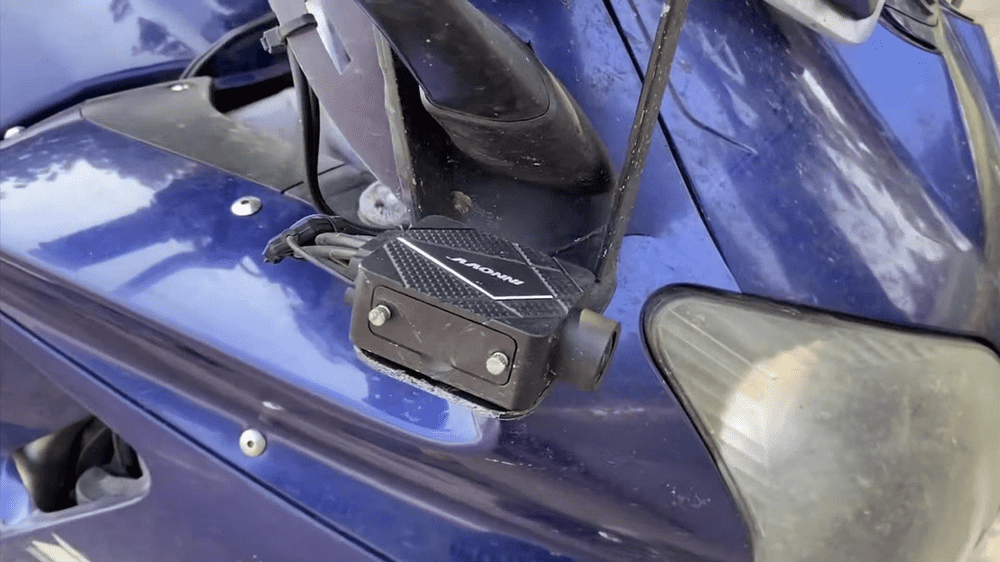
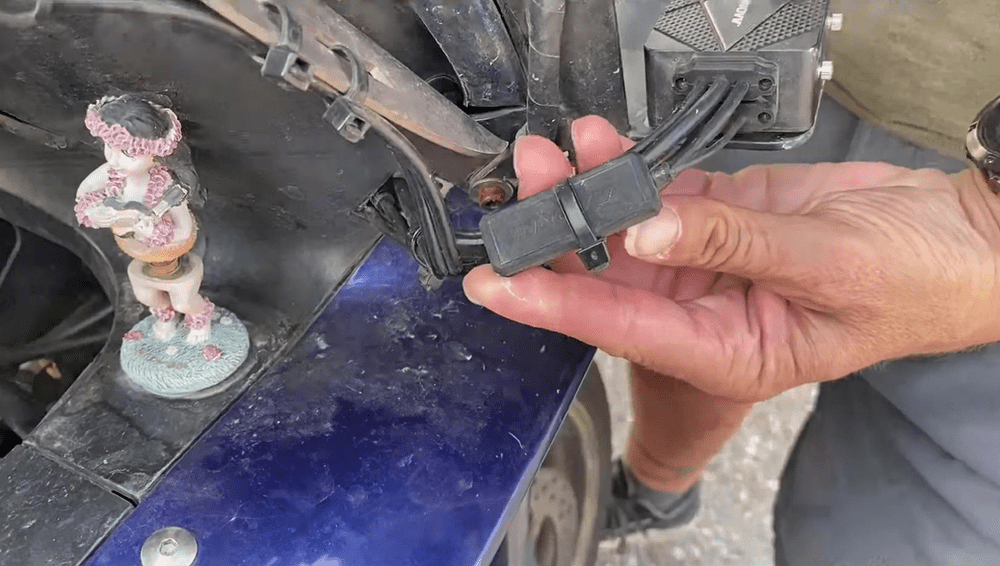
Now on the WIFI receiver, we have a relatively short pigtail to work with there and I know the purpose for that is obviously it needs to be out in the open that can’t be hidden behind bodywork or anywhere it wouldn’t do its job.
I pondered maybe putting Velcro on it and mounting it on top of or below the camera depending on where I ultimately mounted the camera. What I did at the end of the day is I just zip-tied it to that little bundle of wires and it has worked flawlessly. I’ve had zero issues connecting or staying connected to the INNOVV app and I’m perfectly happy with it I’m just gonna leave it right where it is.
About the Amazing Microphone That You May Want to Know
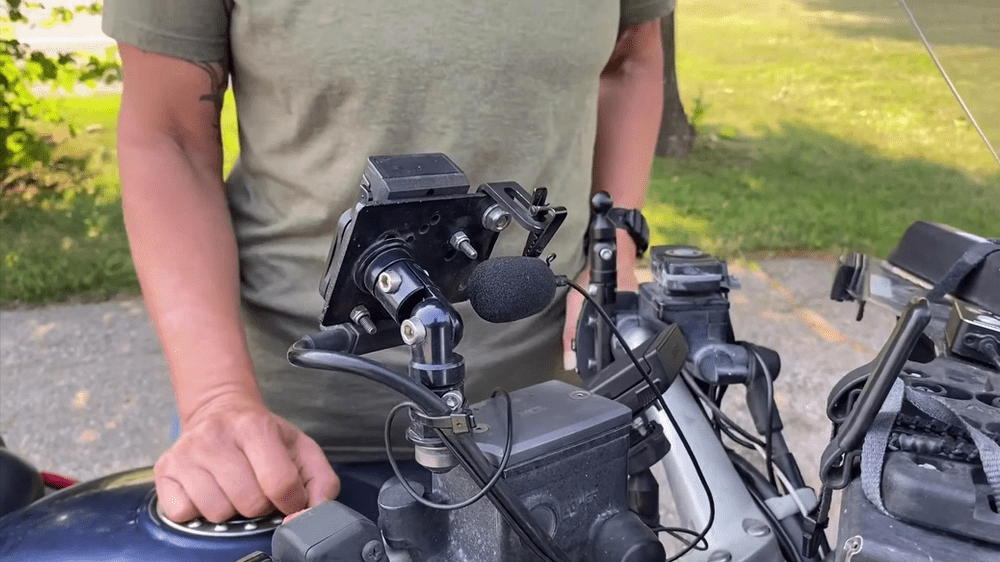
So, the microphone quality as I mentioned is absolutely stellar. I end up clipping it most of the time on the strap of my helmet so I have really really flawless audio when I’m rolling down the road. When I don’t want to have it in my helmet, what I actually did was take one of the small mounting brackets for the camera itself and I purposed that on the back of my GPS mount, and it gives me a quick and easy place just to stick my microphone right there, so it doesn’t get lost or tangled. And it makes it really easy to grab it and stick it up
inside my helmet when I’m ready to ride.
Something you do want to take into consideration when you’re deciding where to mount your camera and something that factored into the location of my camera and particularly the front camera is the memory card is actually stored inside the front camera, so you want to make sure that you put that somewhere where it’s going to be easy to access it’s going to be easy for you to get in there and replace that card clean the lens as needed.
Something else that I have on my bike that obviously not everybody’s going to have on theirs is a programmable power control module, so it was super easy to wire in the K5 because all I had to do was stick the hot wire into one terminal stick the switch tot into another terminal and program accordingly. So, a piece of cake but is also really super easy to do a standard install just take your hot straight to the battery and pick up a switch hot, and that’s literally all it takes to have this camera system switch on and off with the ignition of the bike.
Conclusion
So that’s the basic overview on the install of the K5 camera system on my 2005 Yamaha FJR. I know it’s a very different bike than most people’s bikes. I know it’s a very different install from most people’s installs, but this truly is an outstanding action cam system. So hopefully it gave you some ideas it gave you some inspiration to think outside the box on what the INNOVV K5 is capable of what it is a great app, which is just about everything I’ve thrown at it from durability to picture quality card size microphone audio quality so hopefully, you picked up some tips that will help you on your K5 install.